Anleitungen
Ender 3v2 - Silent Mod
After a lot of research, I also completed my Silent Mod after about 1 month and I am very satisfied with it. Everything runs as I expected.
What was done:
-
Printer raised with extra feet (https://www.thingiverse.com/thing:5349469)
-
PSU fan was exchanged for a Noctua NF-R8 1200 with 9.1dB(a) (almost inaudible). Of course, a new housing was printed in PETG (https://www.thingiverse.com/thing:4704104)
-
The fan for the mainboard was also exchanged for a Noctua NF-R8 1200 in a suitable housing (https://www.thingiverse.com/thing:5072597)
-
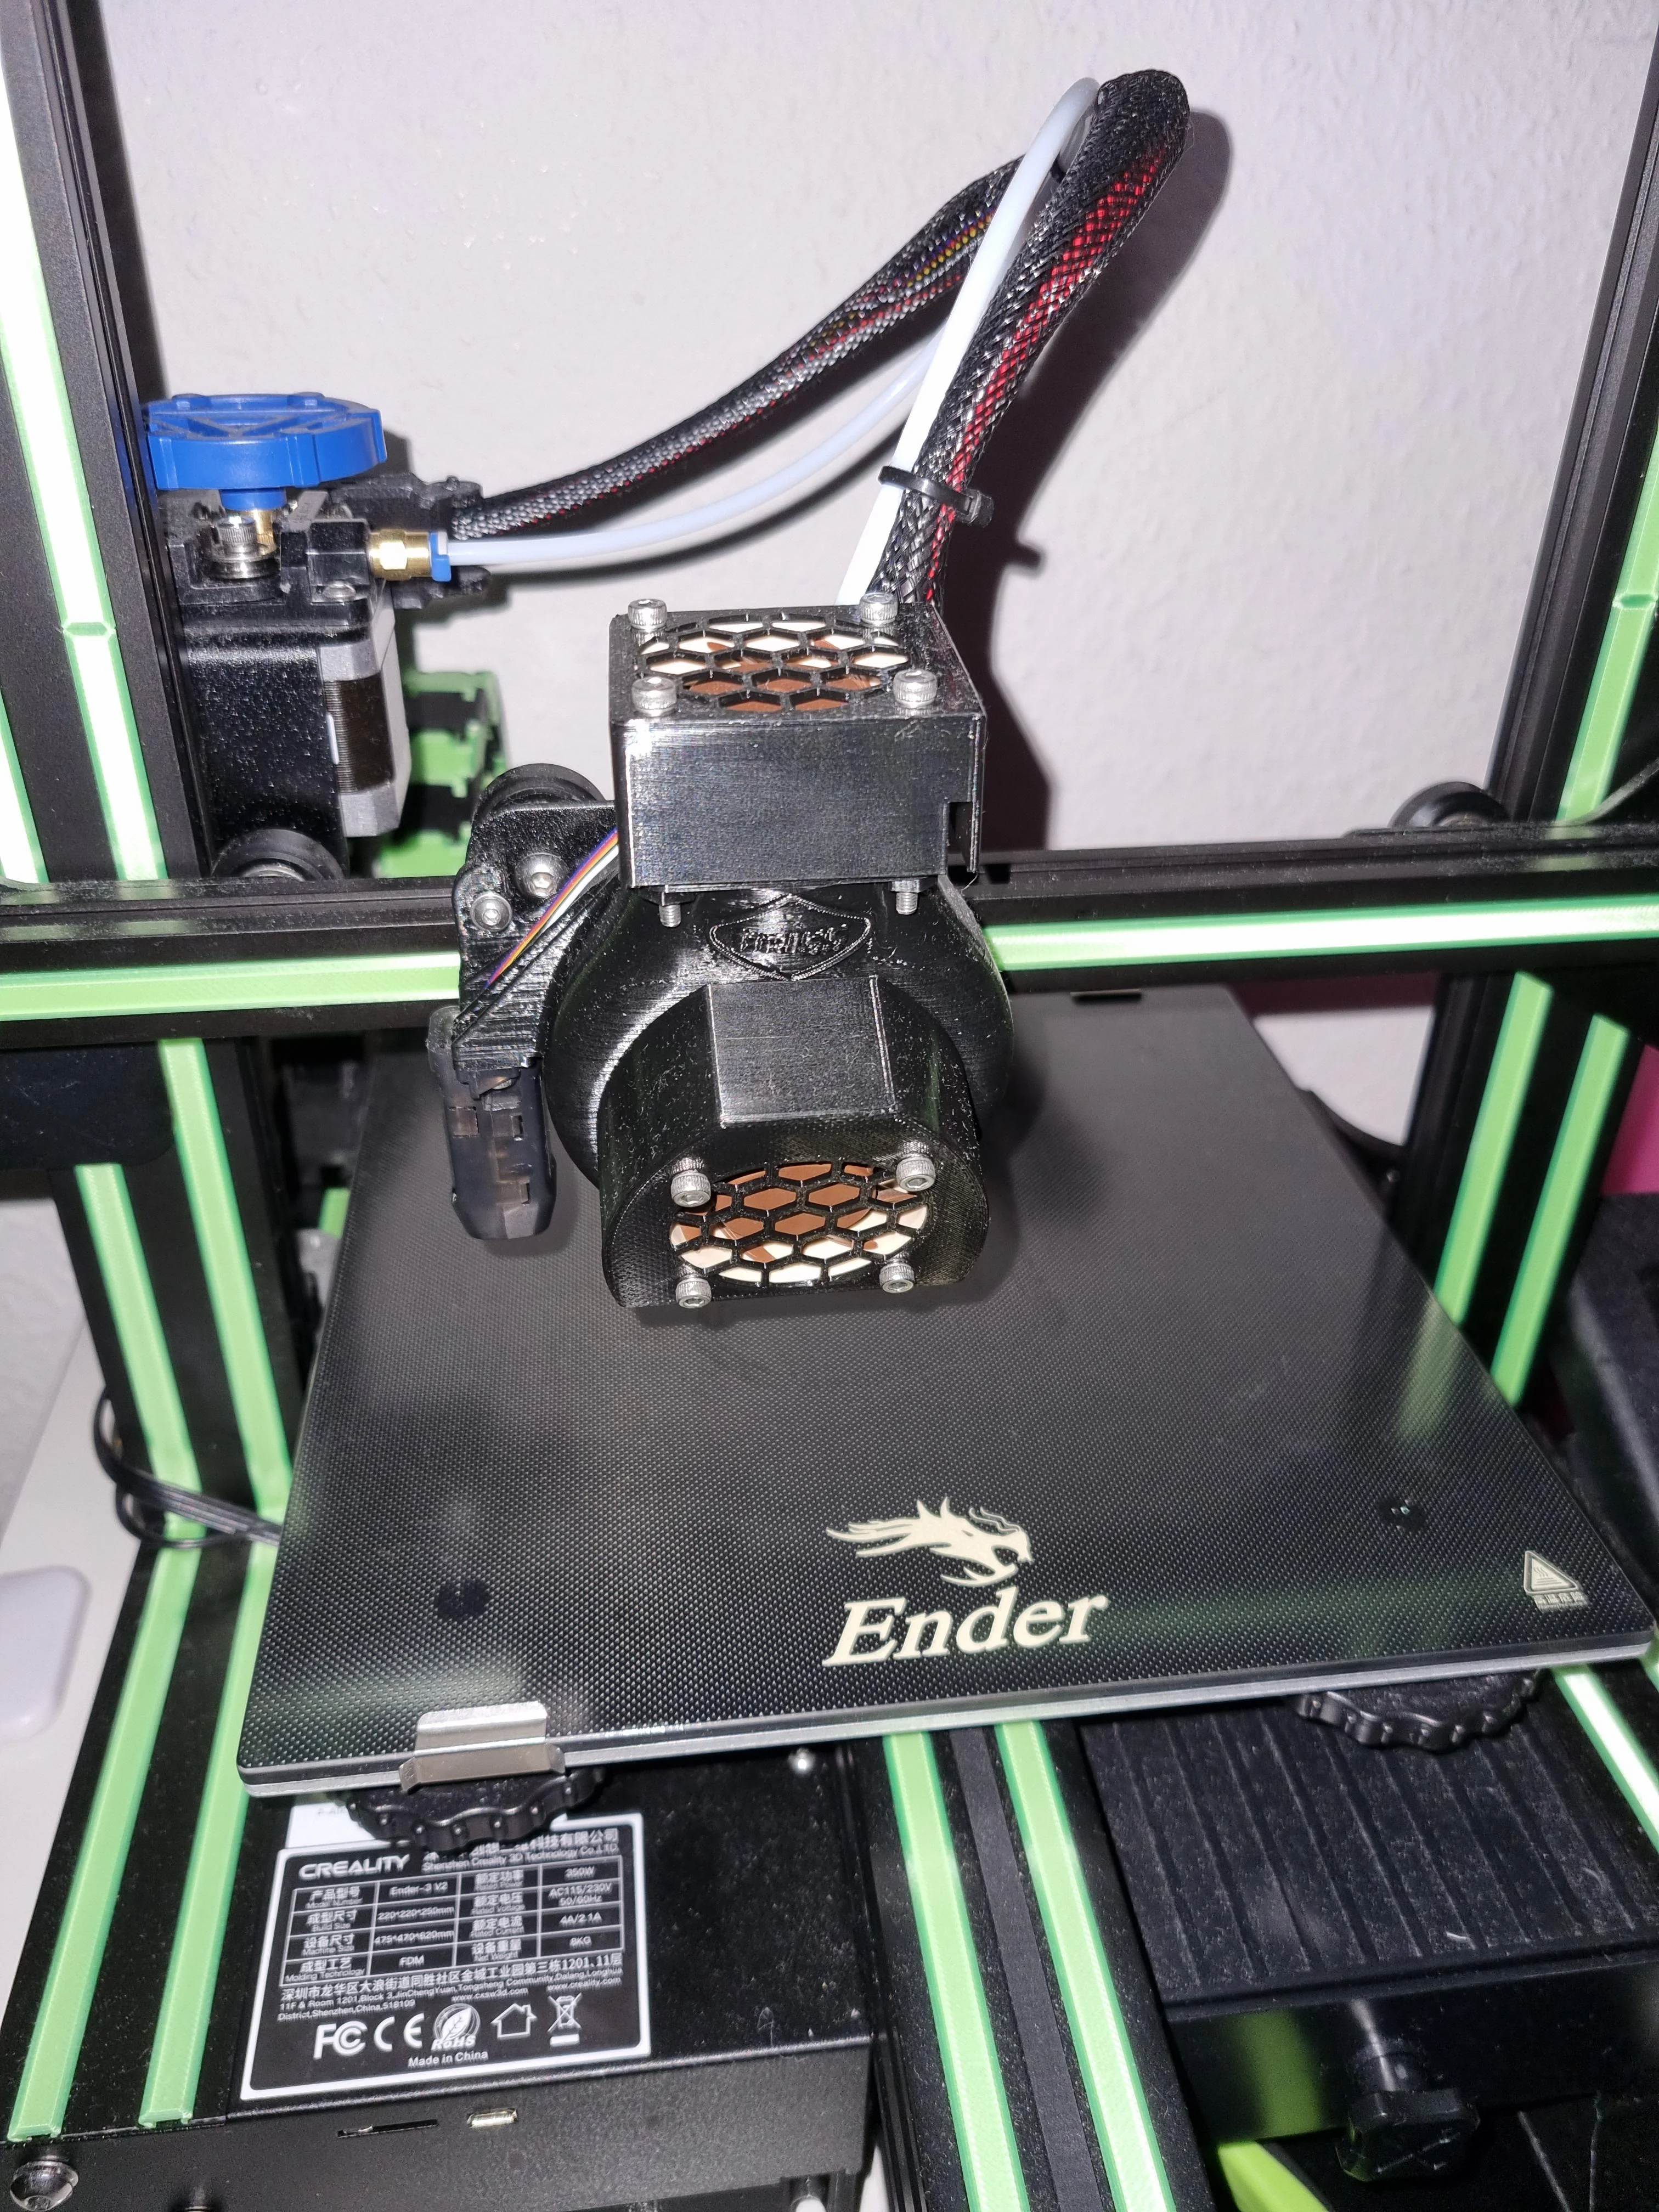
Printed a new fan duct (Brissmoto Fan Duct)
-
One Noctua A4x20 FLX for the hot end
-
One Noctua A4x20 PWM for the part cooling, with the PWM signal managed by a little Arduino nano
-
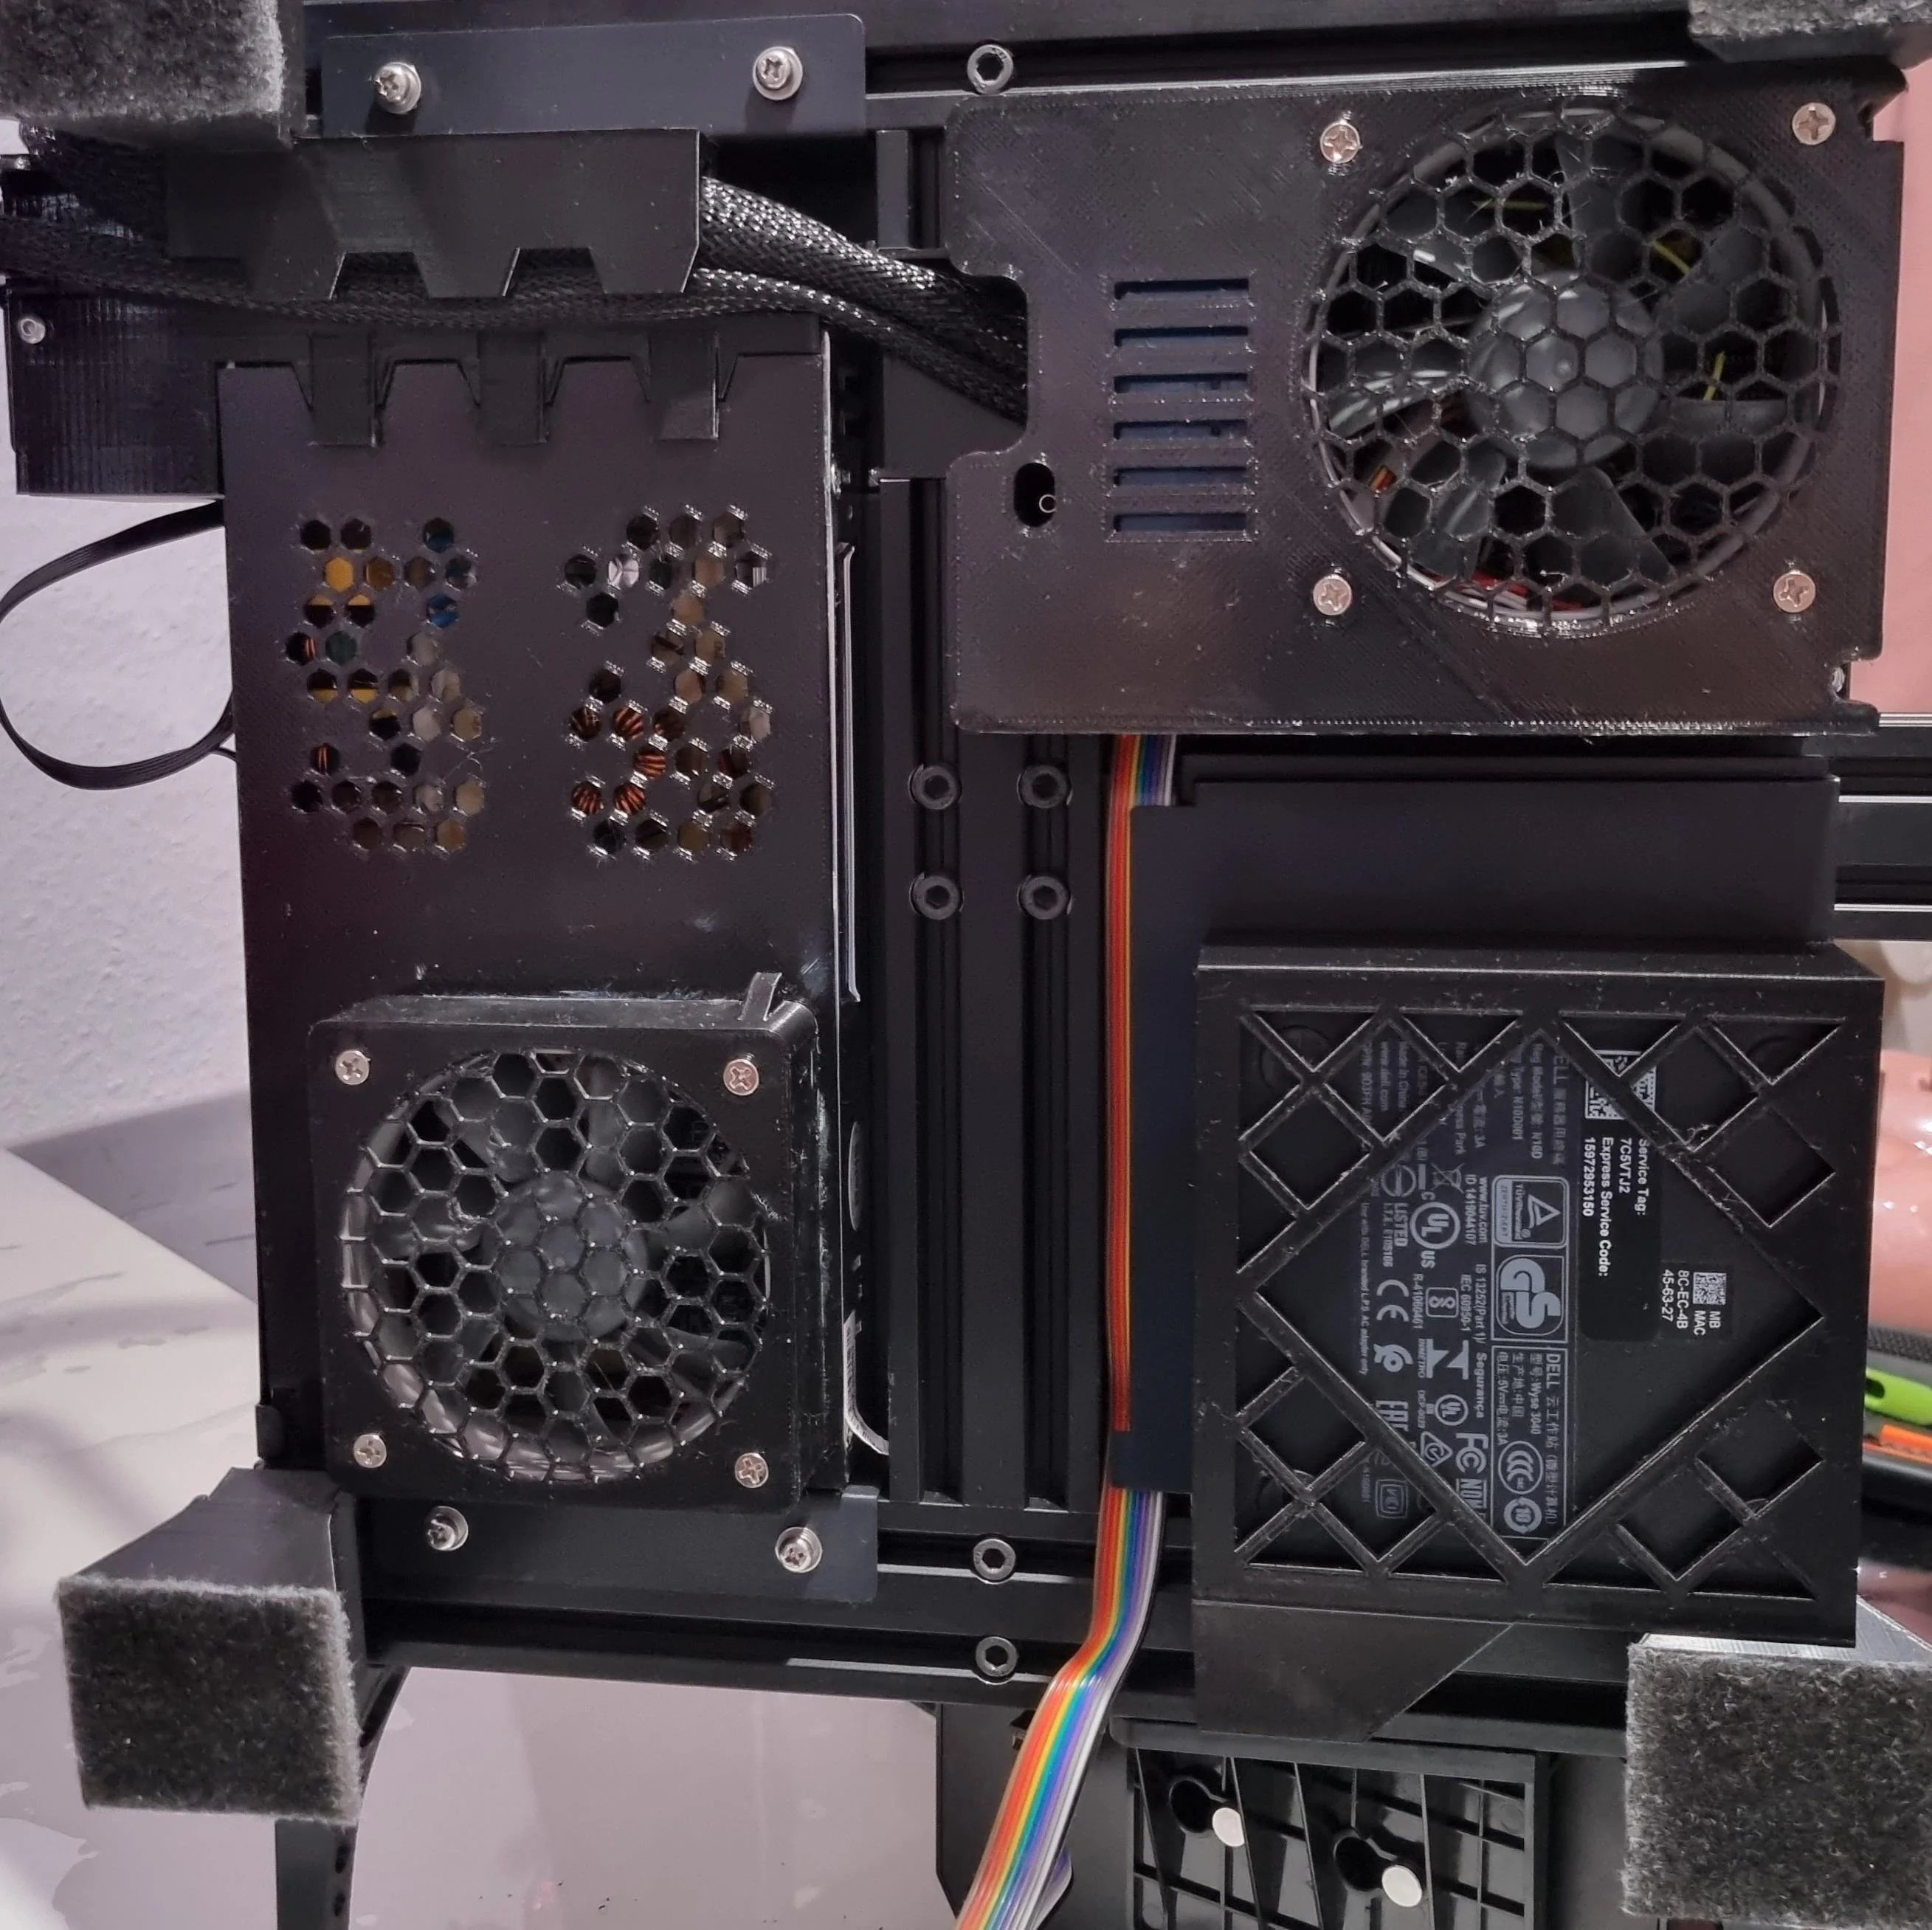
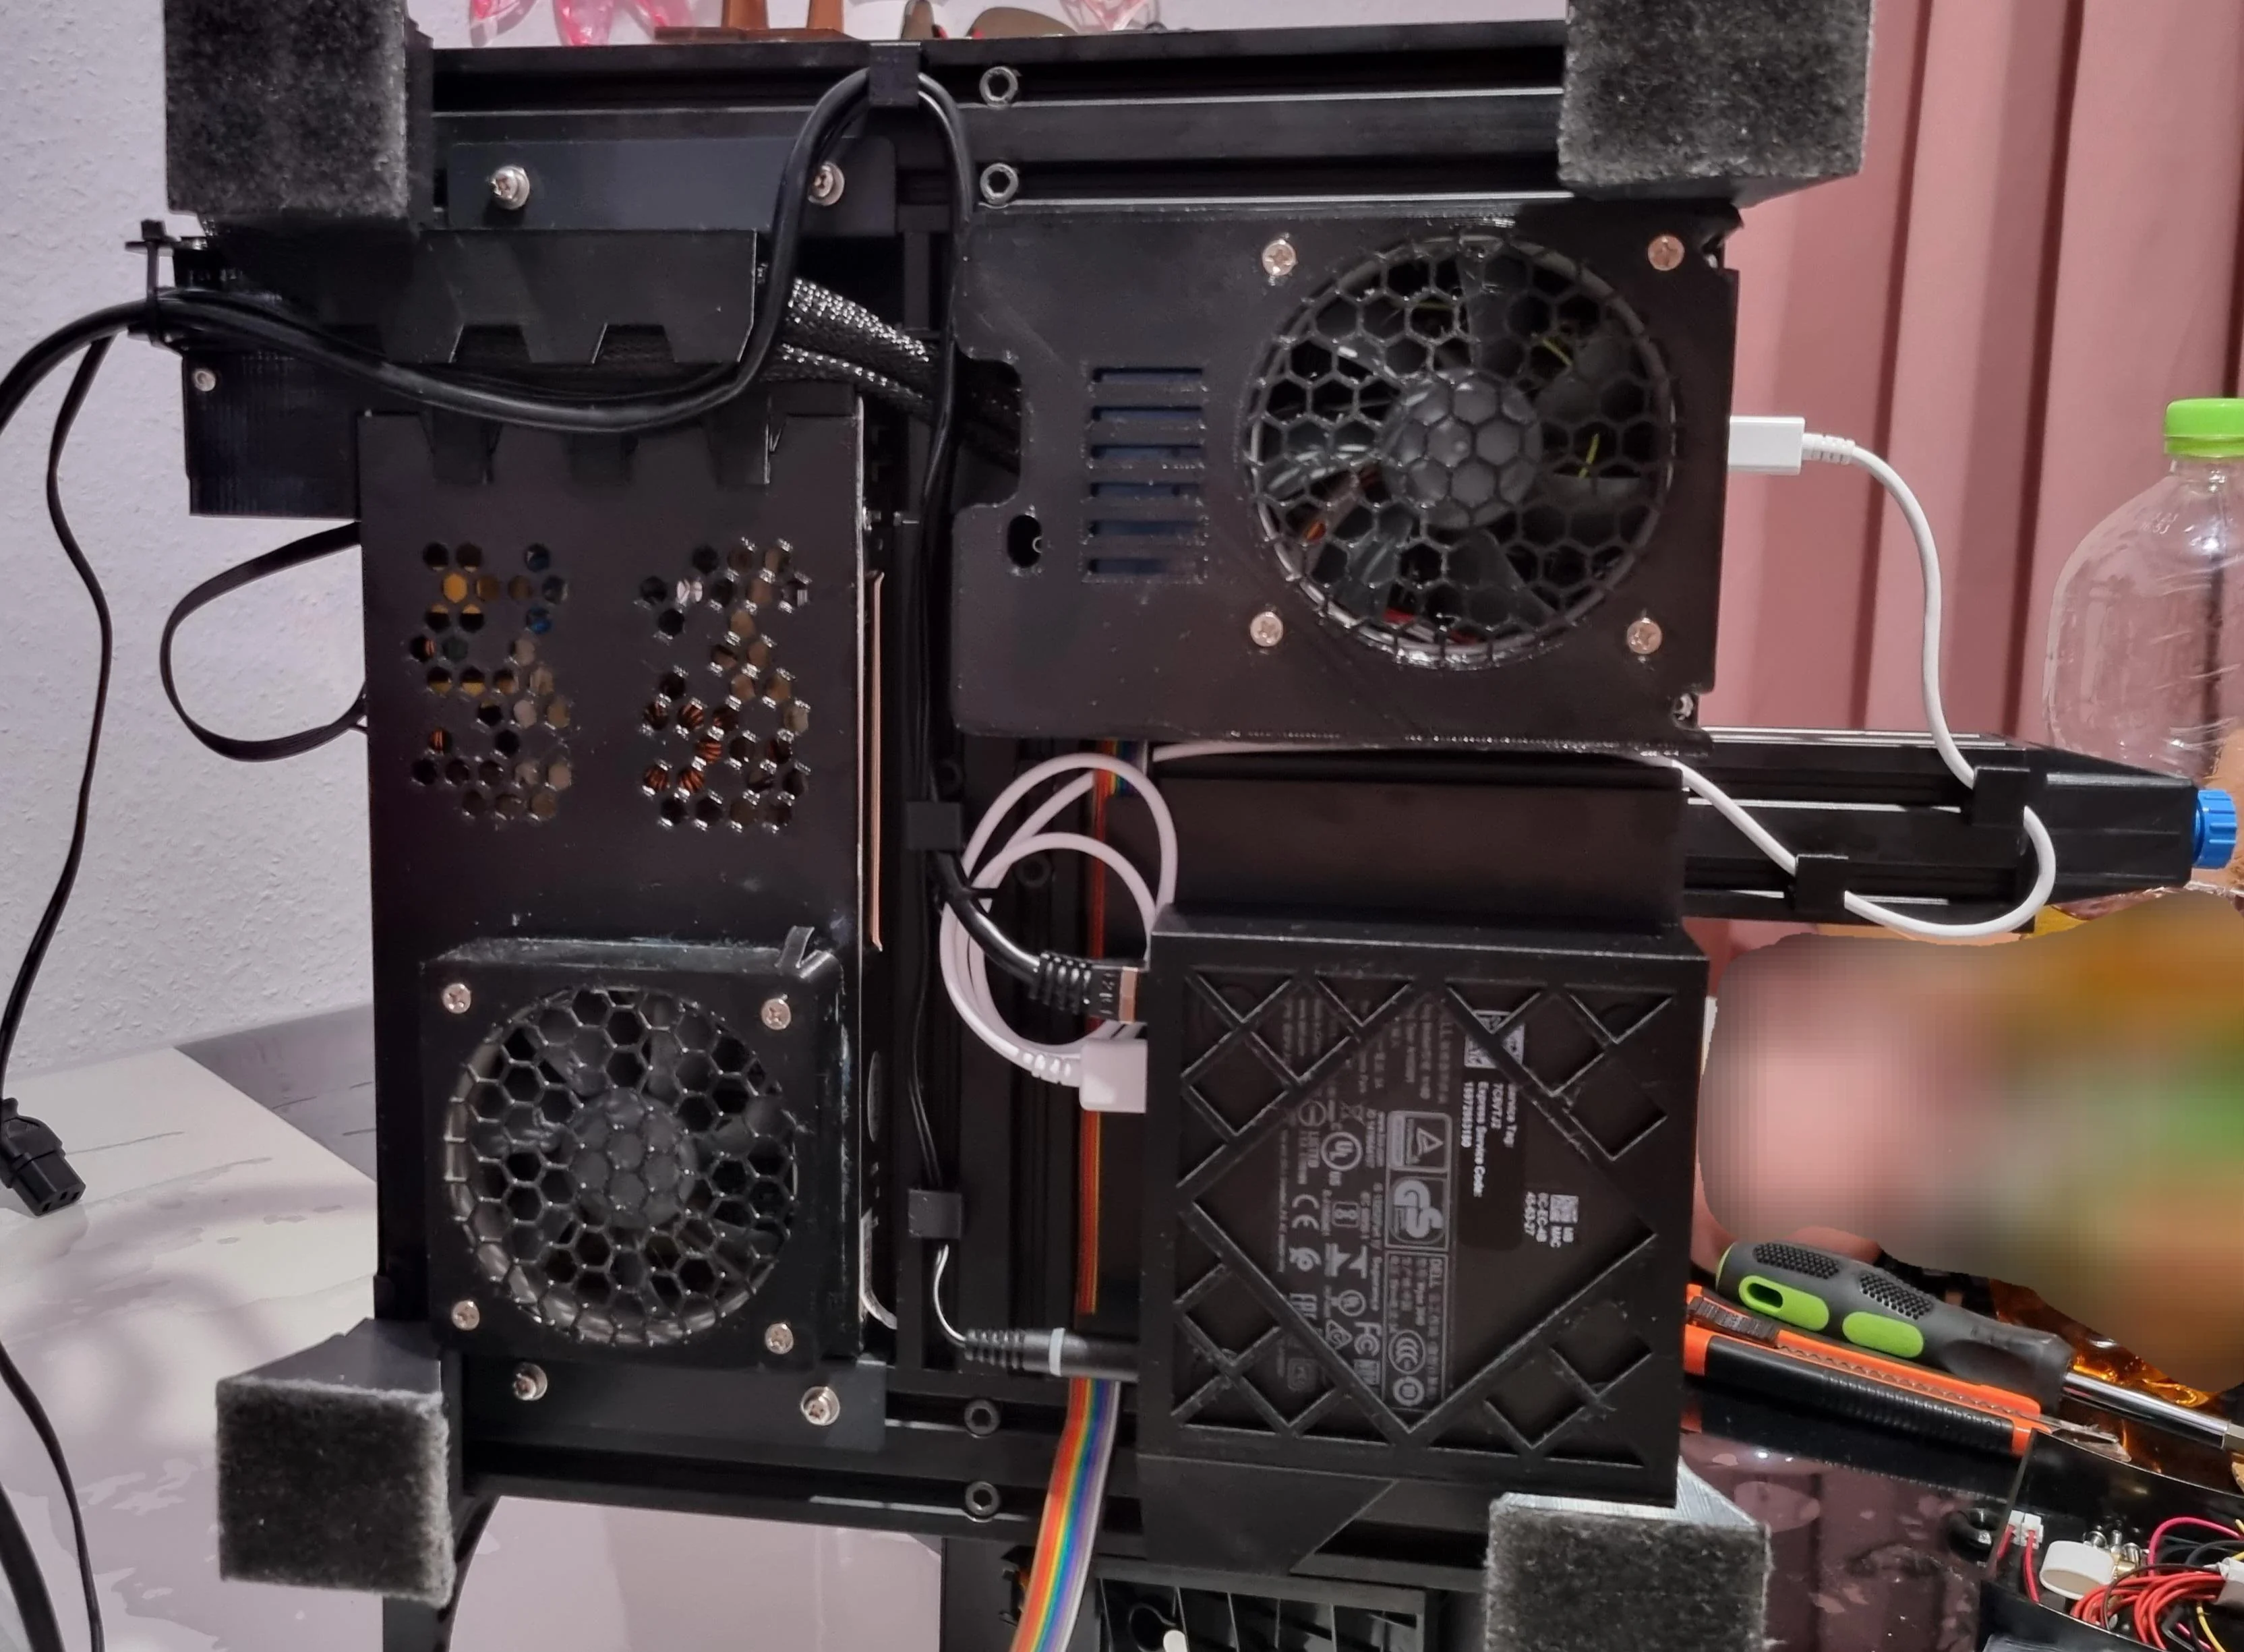
Finally, I designed and attached some housings for the fans (see picture)
vid from the noise level:
vid with a needle test:
In both vids all fans are on full speed. And as you see it was a progress, the vids don't show the final picture :-)
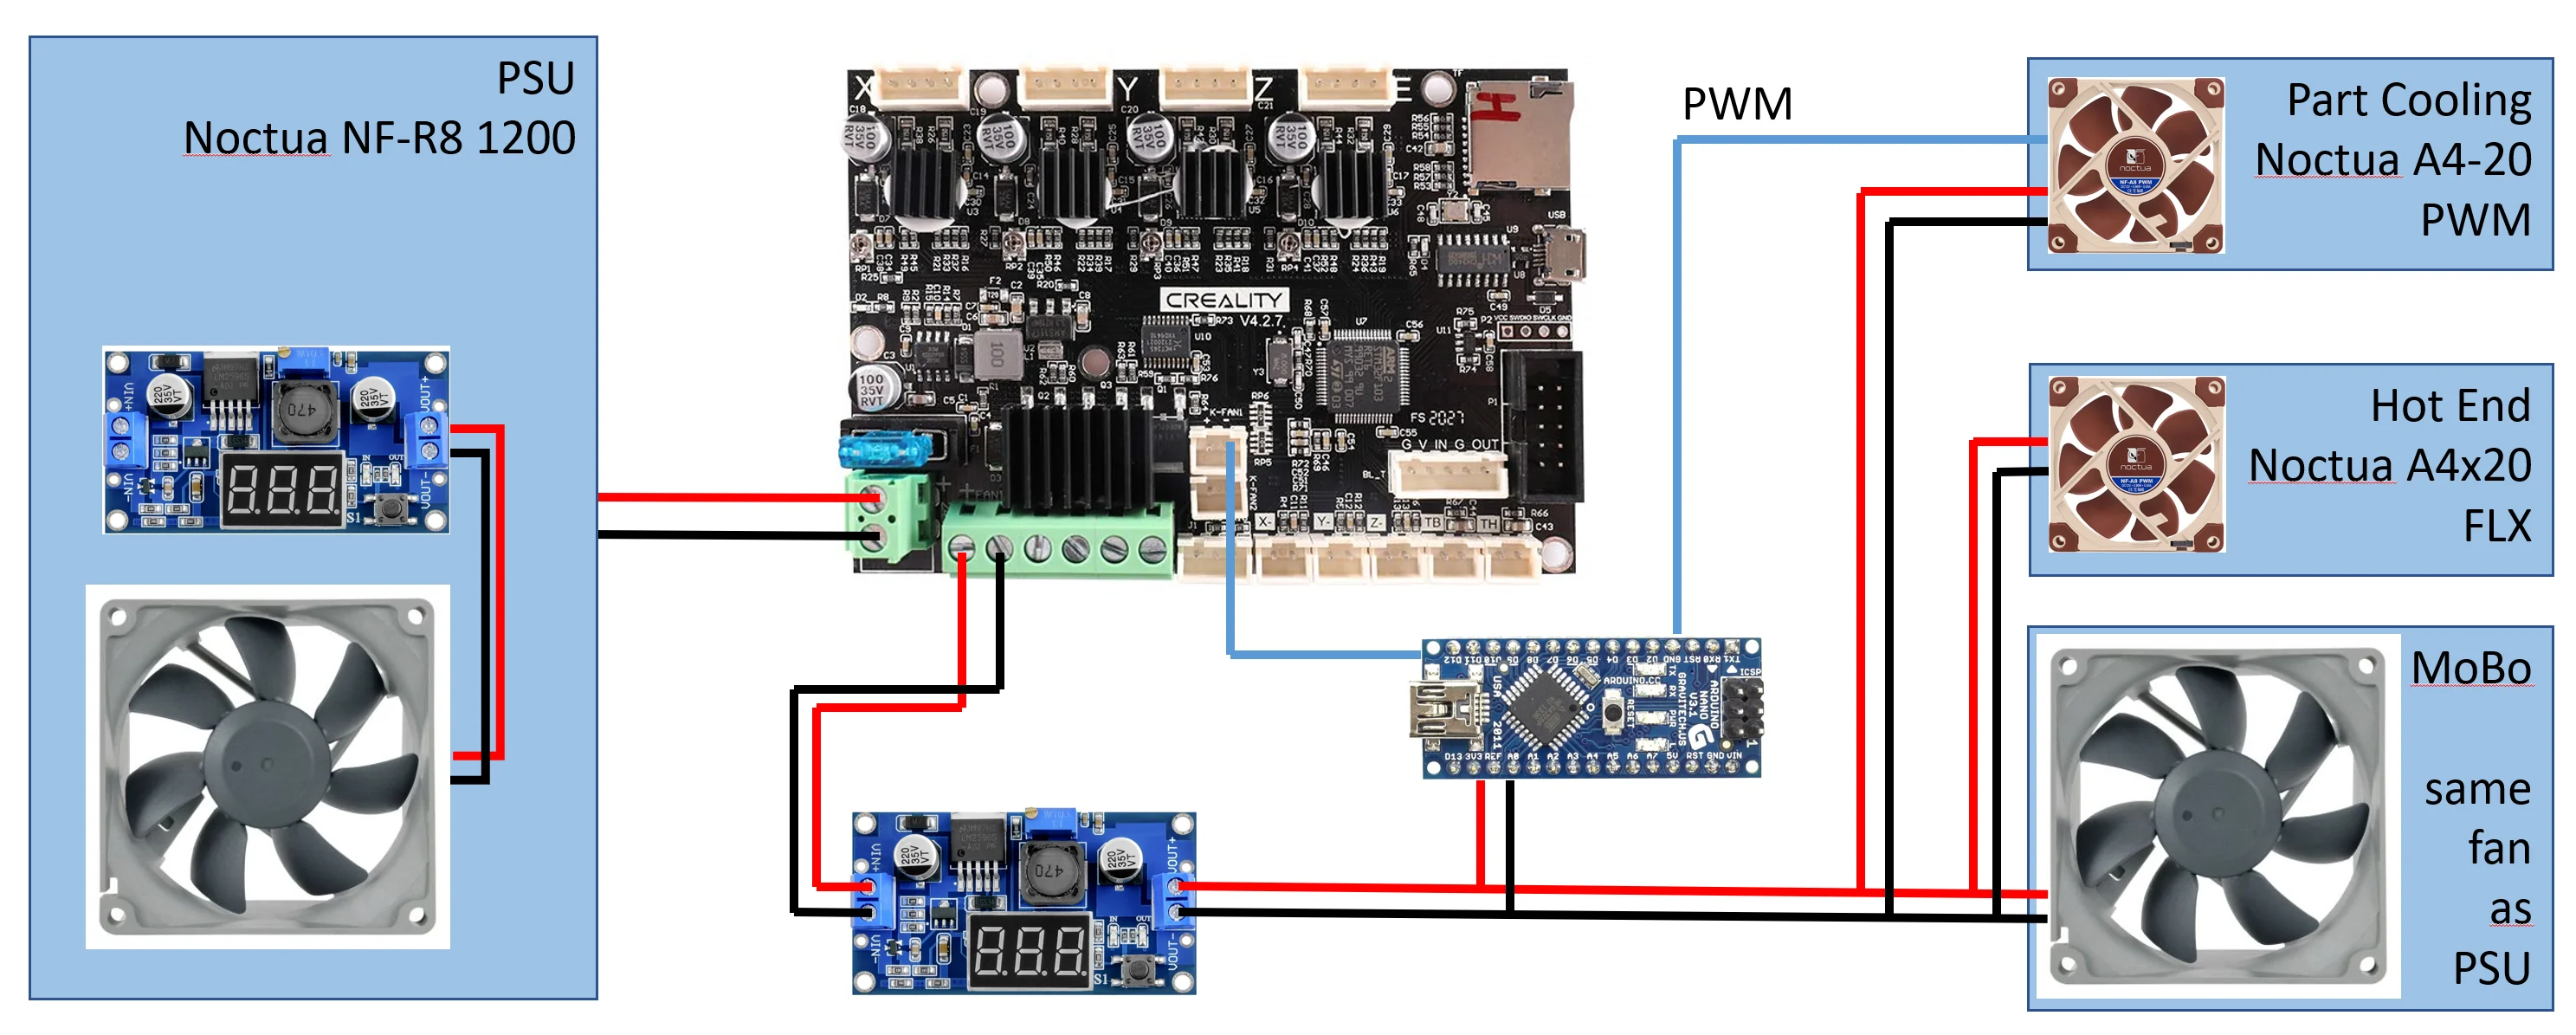
Cabling:
So far, the printouts have all been great, sometimes even better than before. So far I can only say that the fans are completely sufficient.
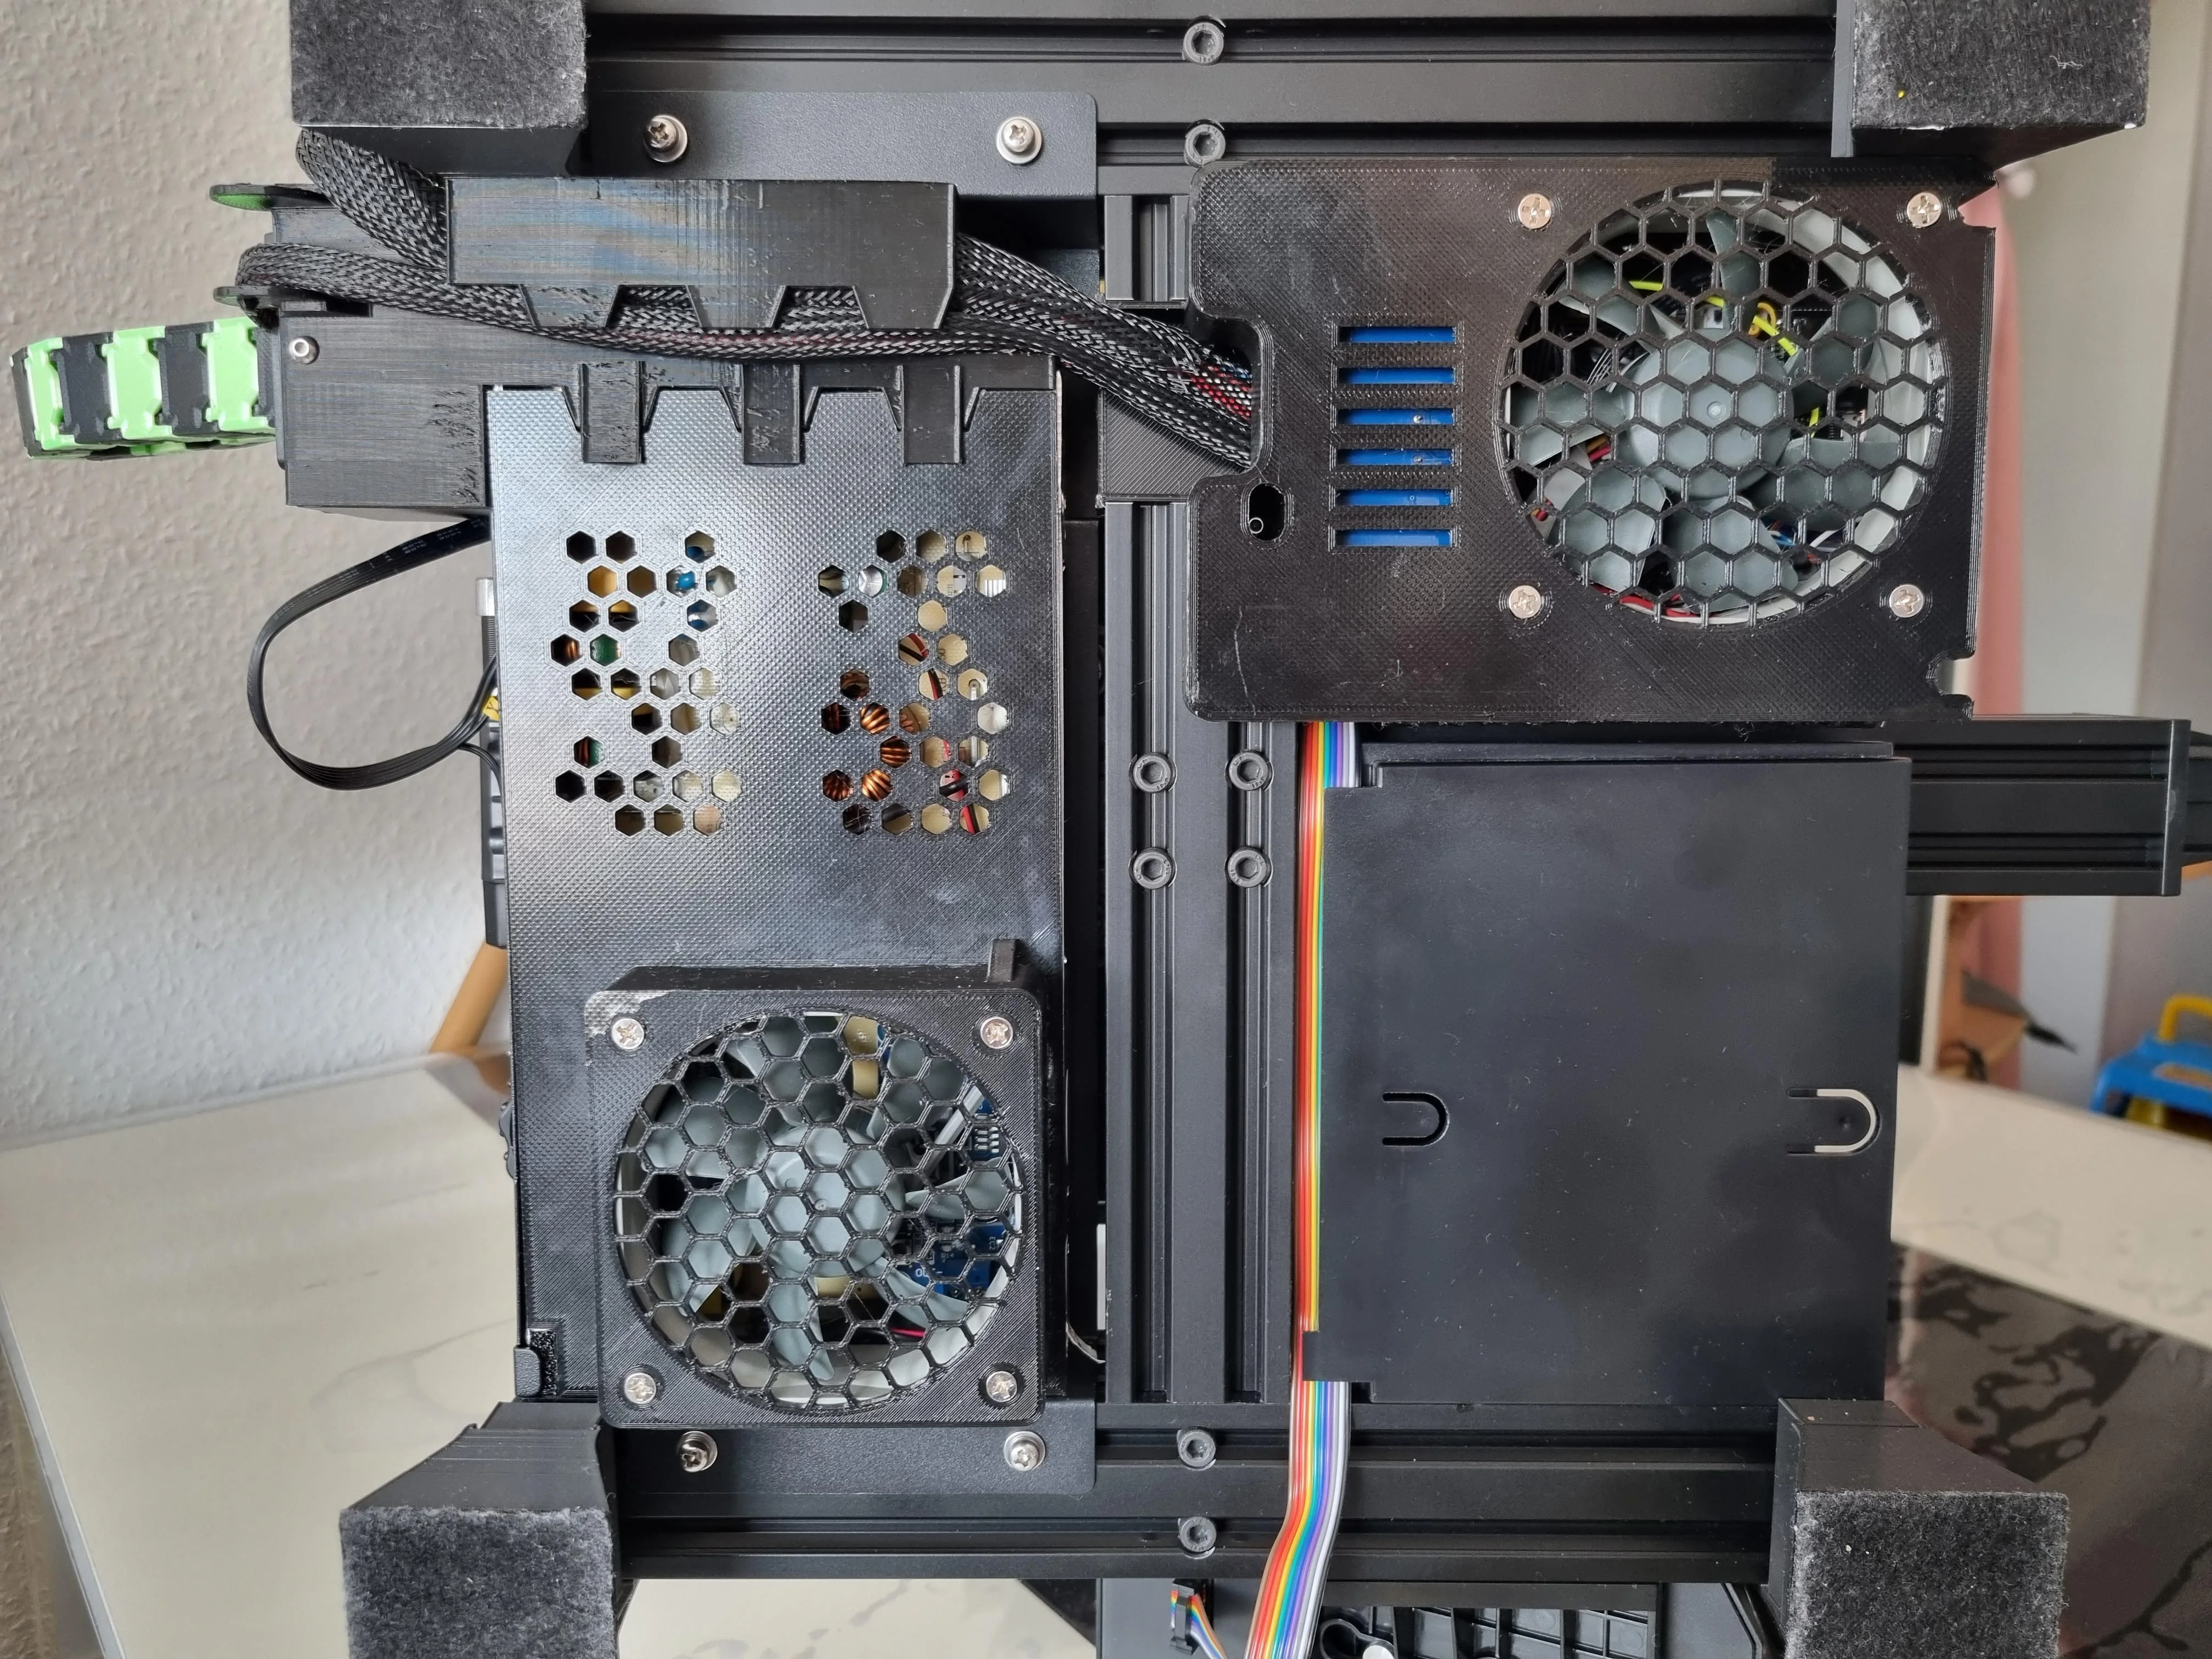
Here a picture from below the printer:
As many people asked how I did it with the wiring of the arduino, I try to explain it.
First a picture:
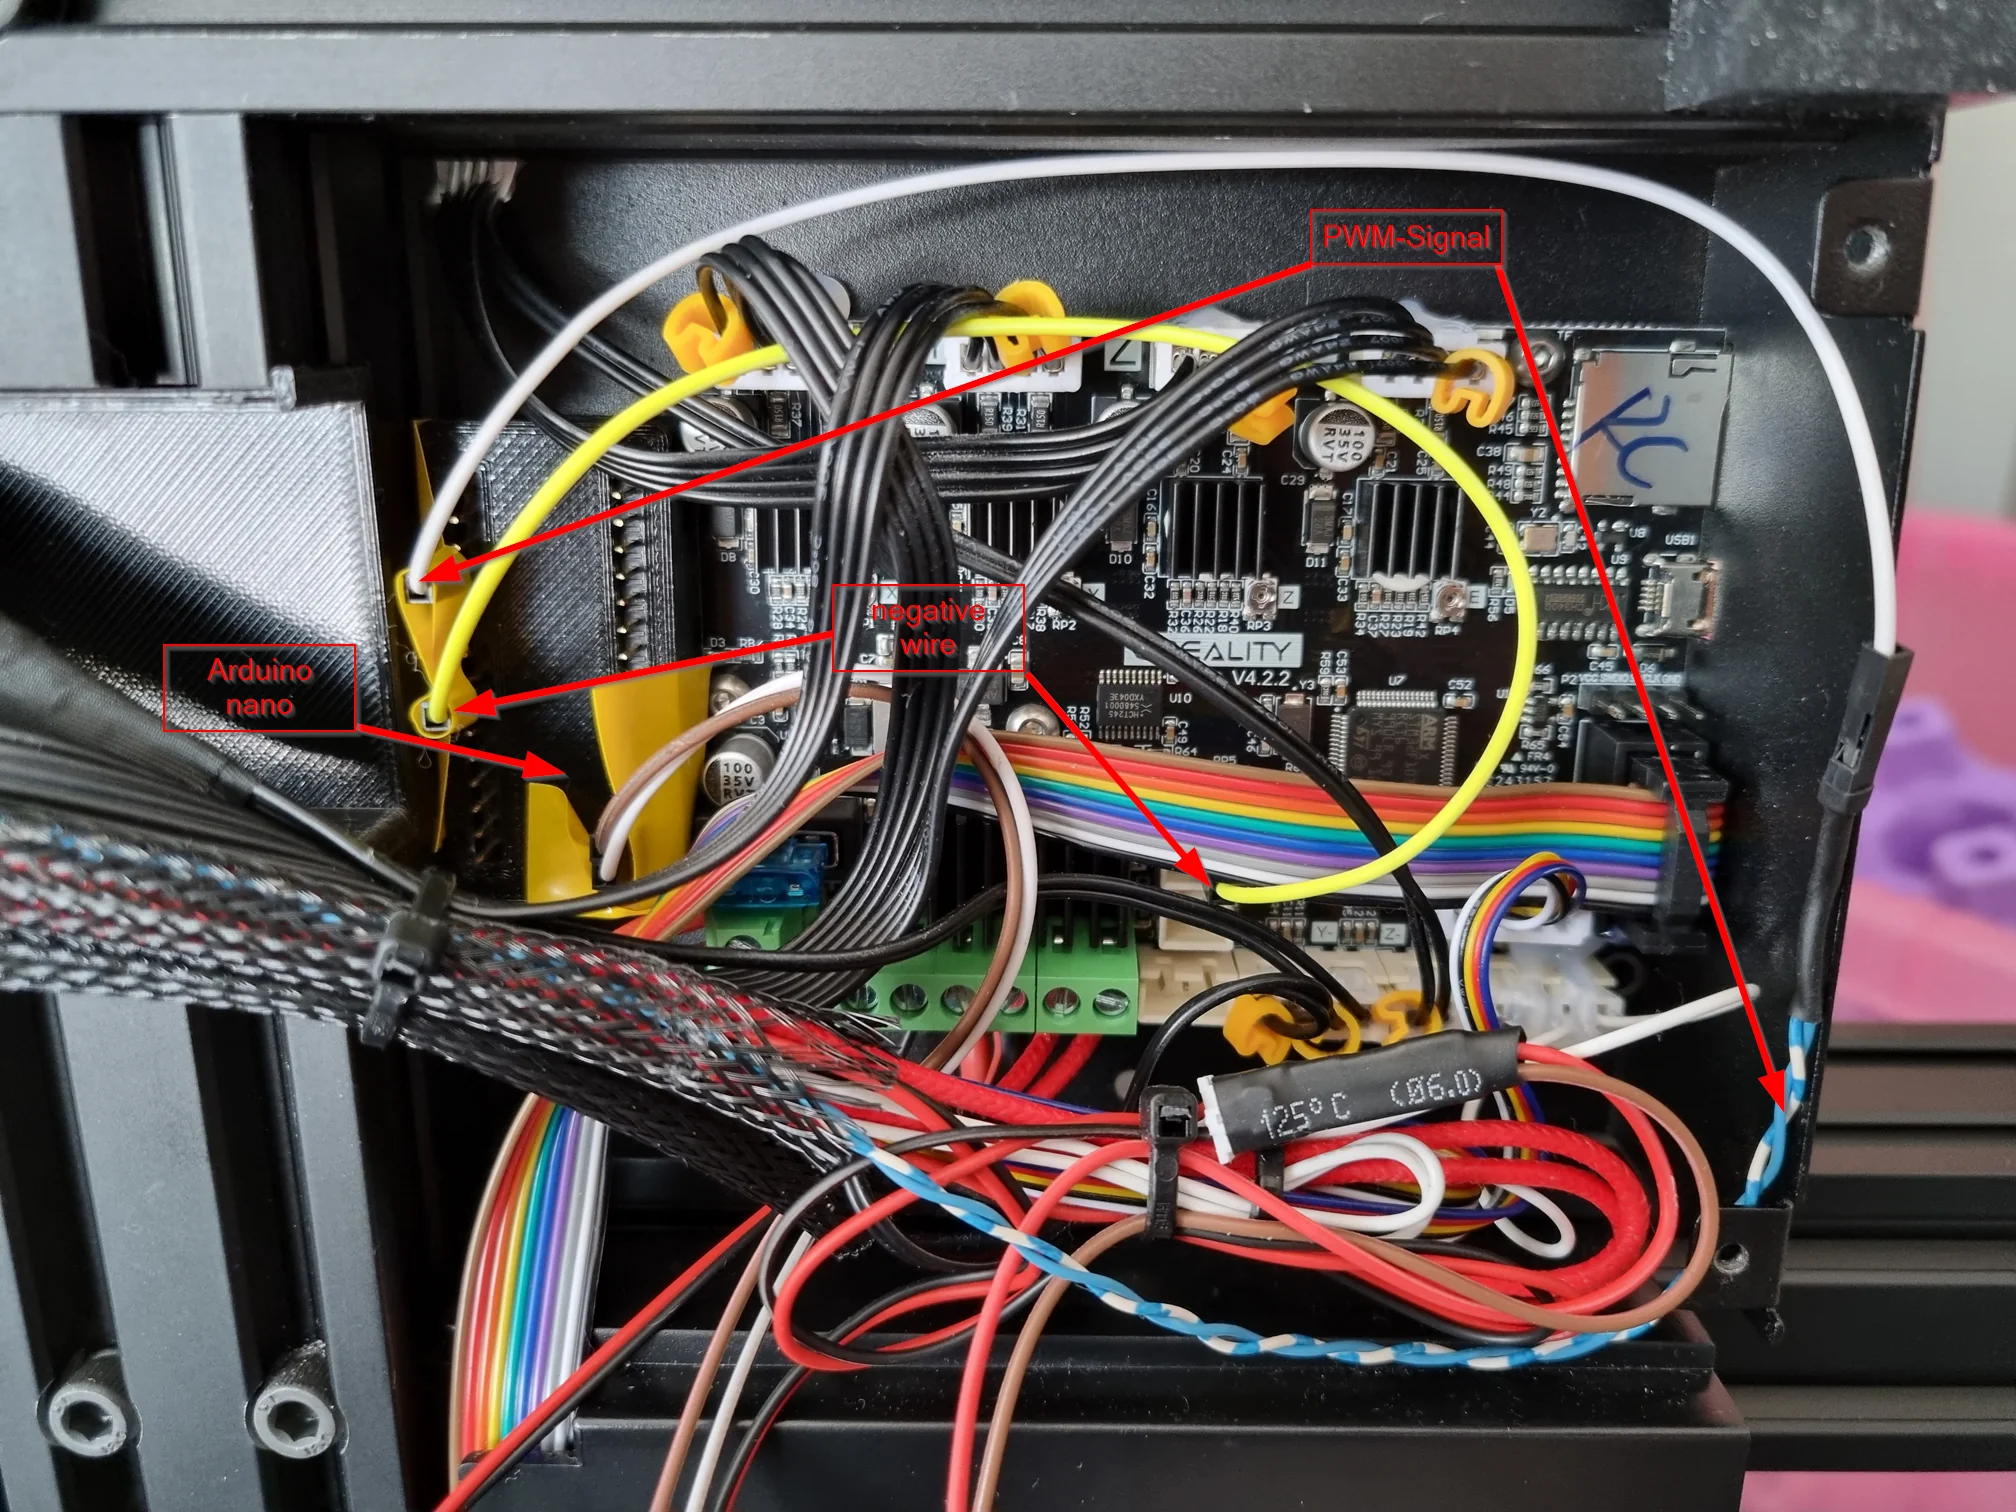
The little black box left of the mainboard contains the arduino nano with just the pins accessible.It is powered from the buck converter with 12V.From there (sorry I had no other colors available :-P) the yellow cable goes to the negative port of the fan on the mainboard. From here the Arduino gets the information which voltage is being requested. Over the white cable (moving to the blue/white cable from a old CAT5 network cable) the PWM signal is being sent to the fan. Here also a short video:
The PWM wire is connected to port D9 of the Arduino and the negative wire is connected to port D4.
The result looks like this:
I don't test all speeds inbetween, but it works, no matter which speed I set.
Maybe this helps other people with their project :-)
Oh, and I added some colour to my printer with a light green.
ThinClient as an OctoPrint Server
Recently I finished my silent mod for my Ender3v2 which I posted here.
As the energy costs are rising I searched for a solution to lower the costs for my OctoPrint which was running on my gaming PC (yes I know, not the best solution but it works for me the last months).
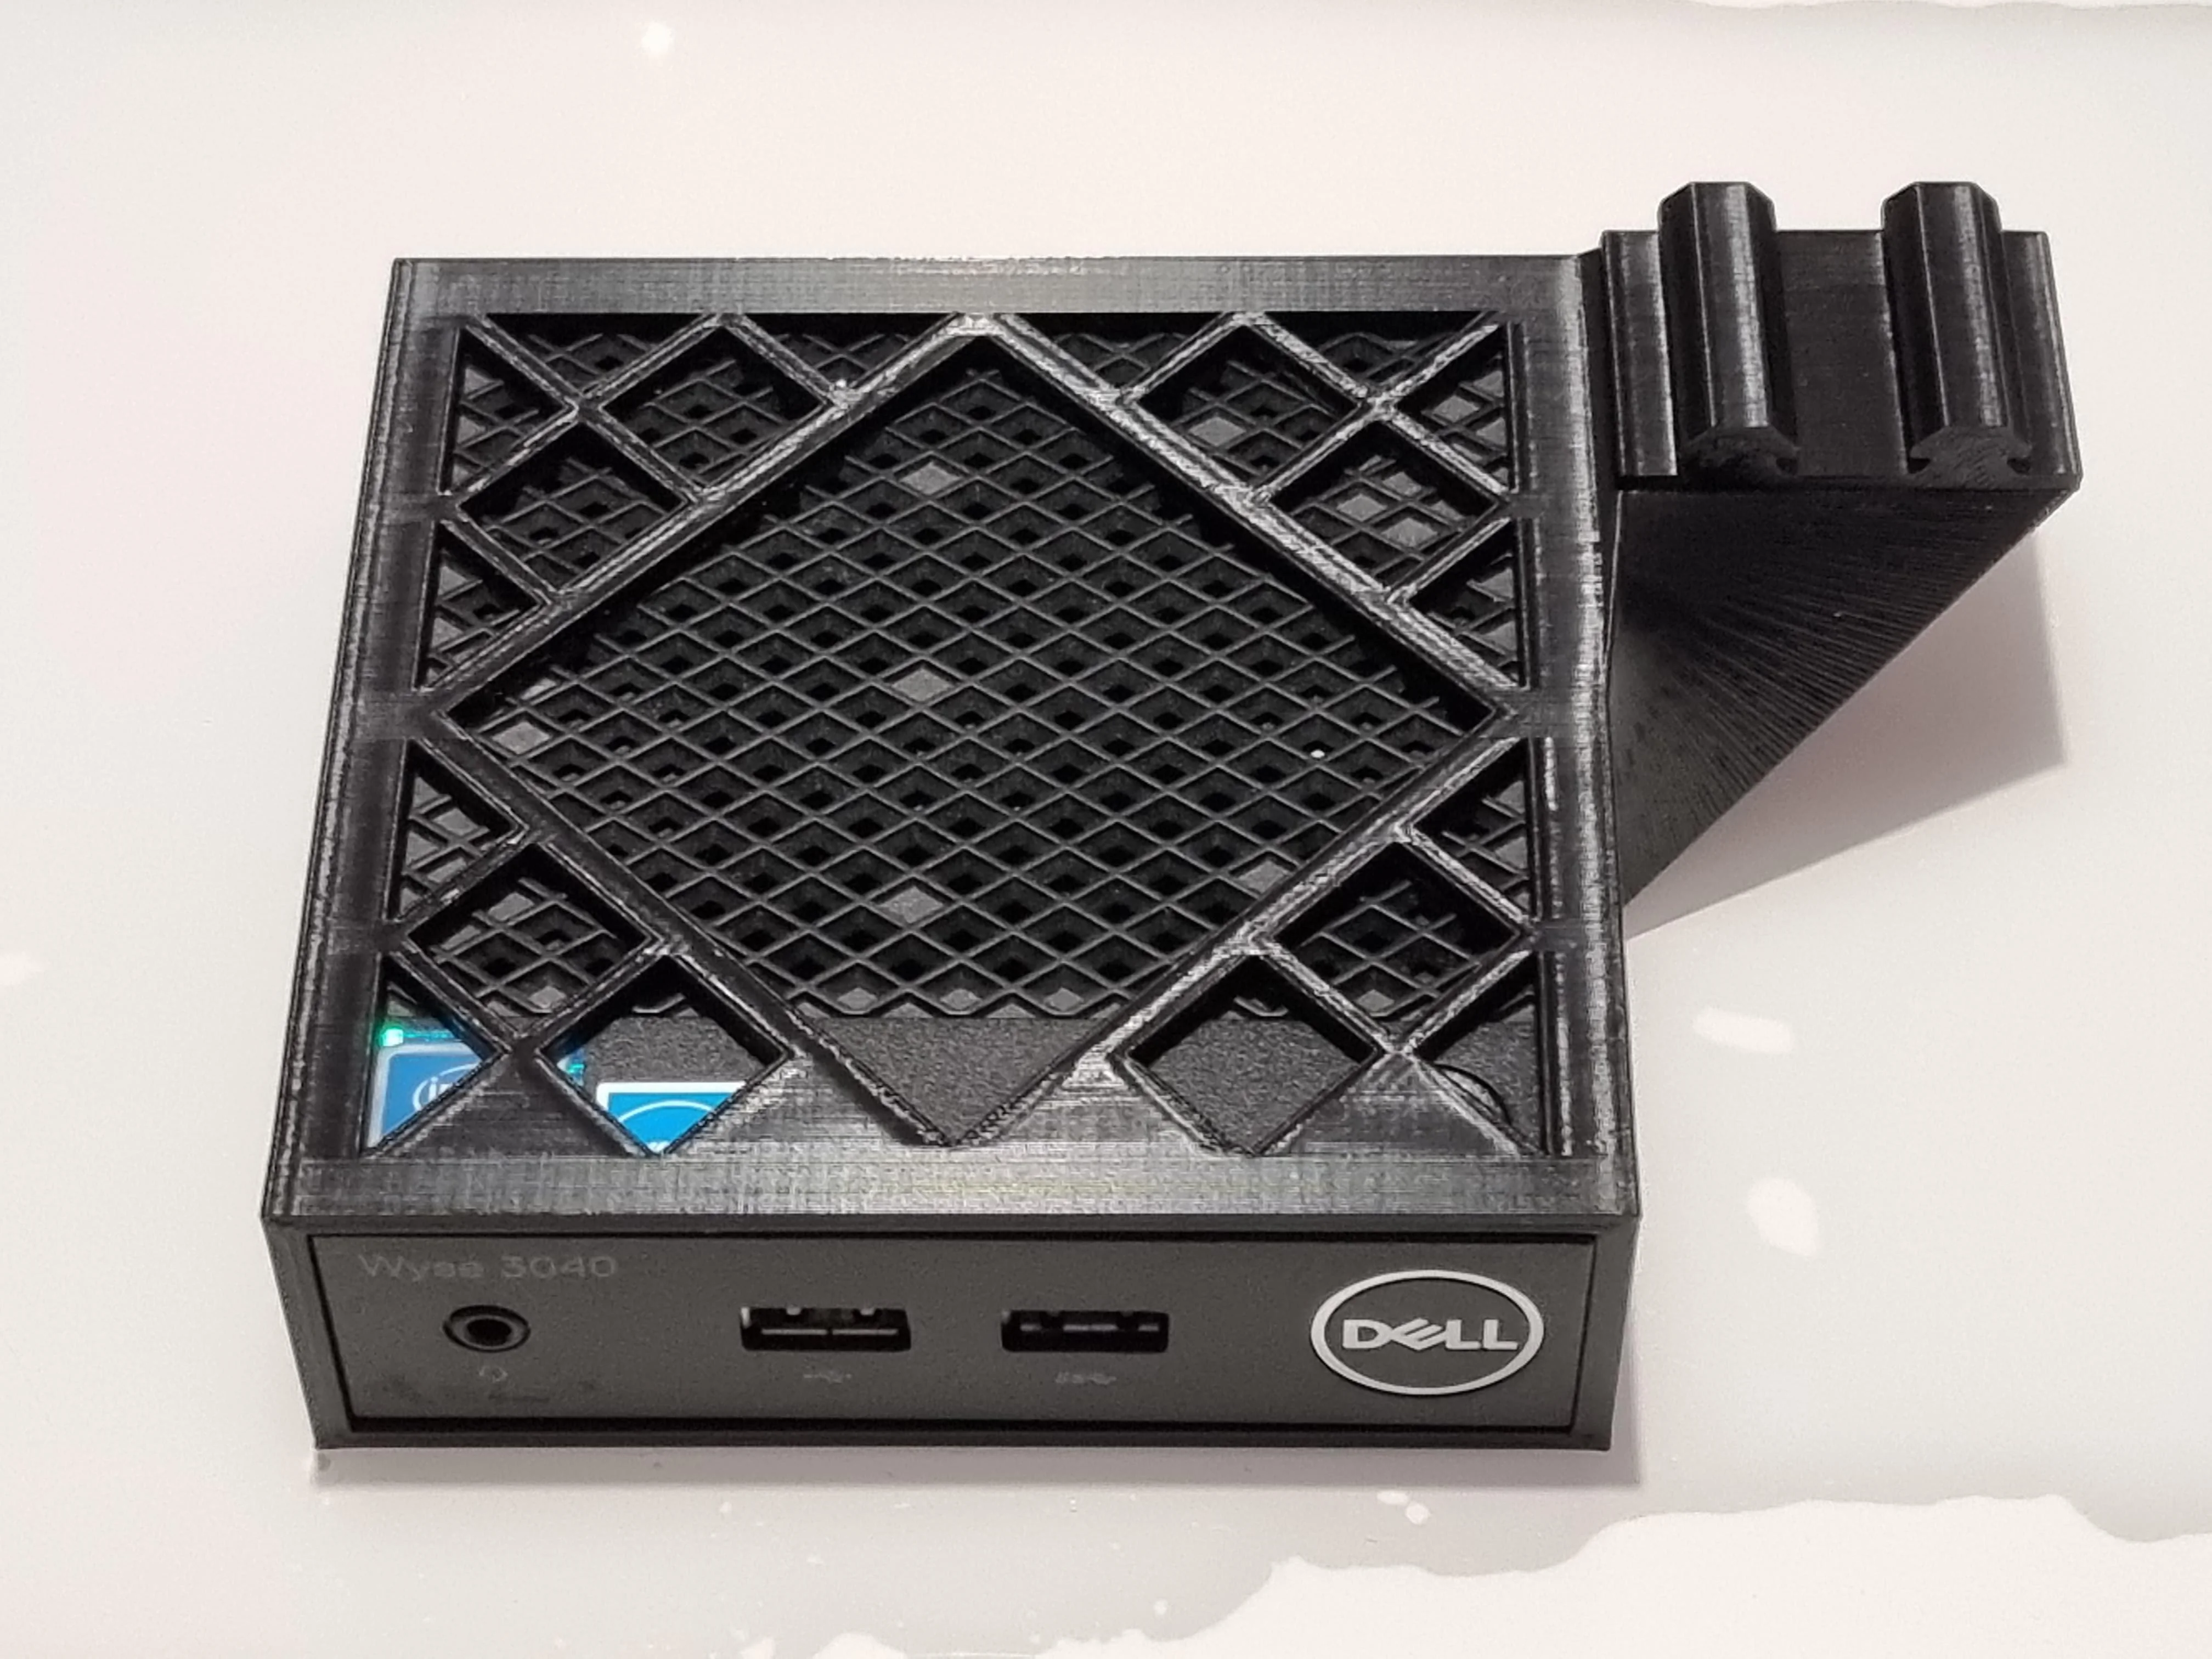
So I found an interesting video on Youtube from CrimsonRepair where a Dell Wyse 3040 with a Debian was installed for Klipper. I don't currently use Klipper, but I wanted to use the concept for Octoprint.
So: bought, waited and then got started.I designed a holder for it (https://www.printables.com/model/307163-dell-wyse-3040-holder-ender3-v2) with which I could mount the ThinClient directly under the drawer. The model simply slides into the right V-slots.
The ThinClient itself can simply be pushed in from the front and closes cleanly.
With 5W maximum power, it doesn't get too warm even underneath. And thanks to the 4 core Atom processor, it's definitely powerful enough to control the printer completely via the USB port.
Here are some pictures of the conversion.
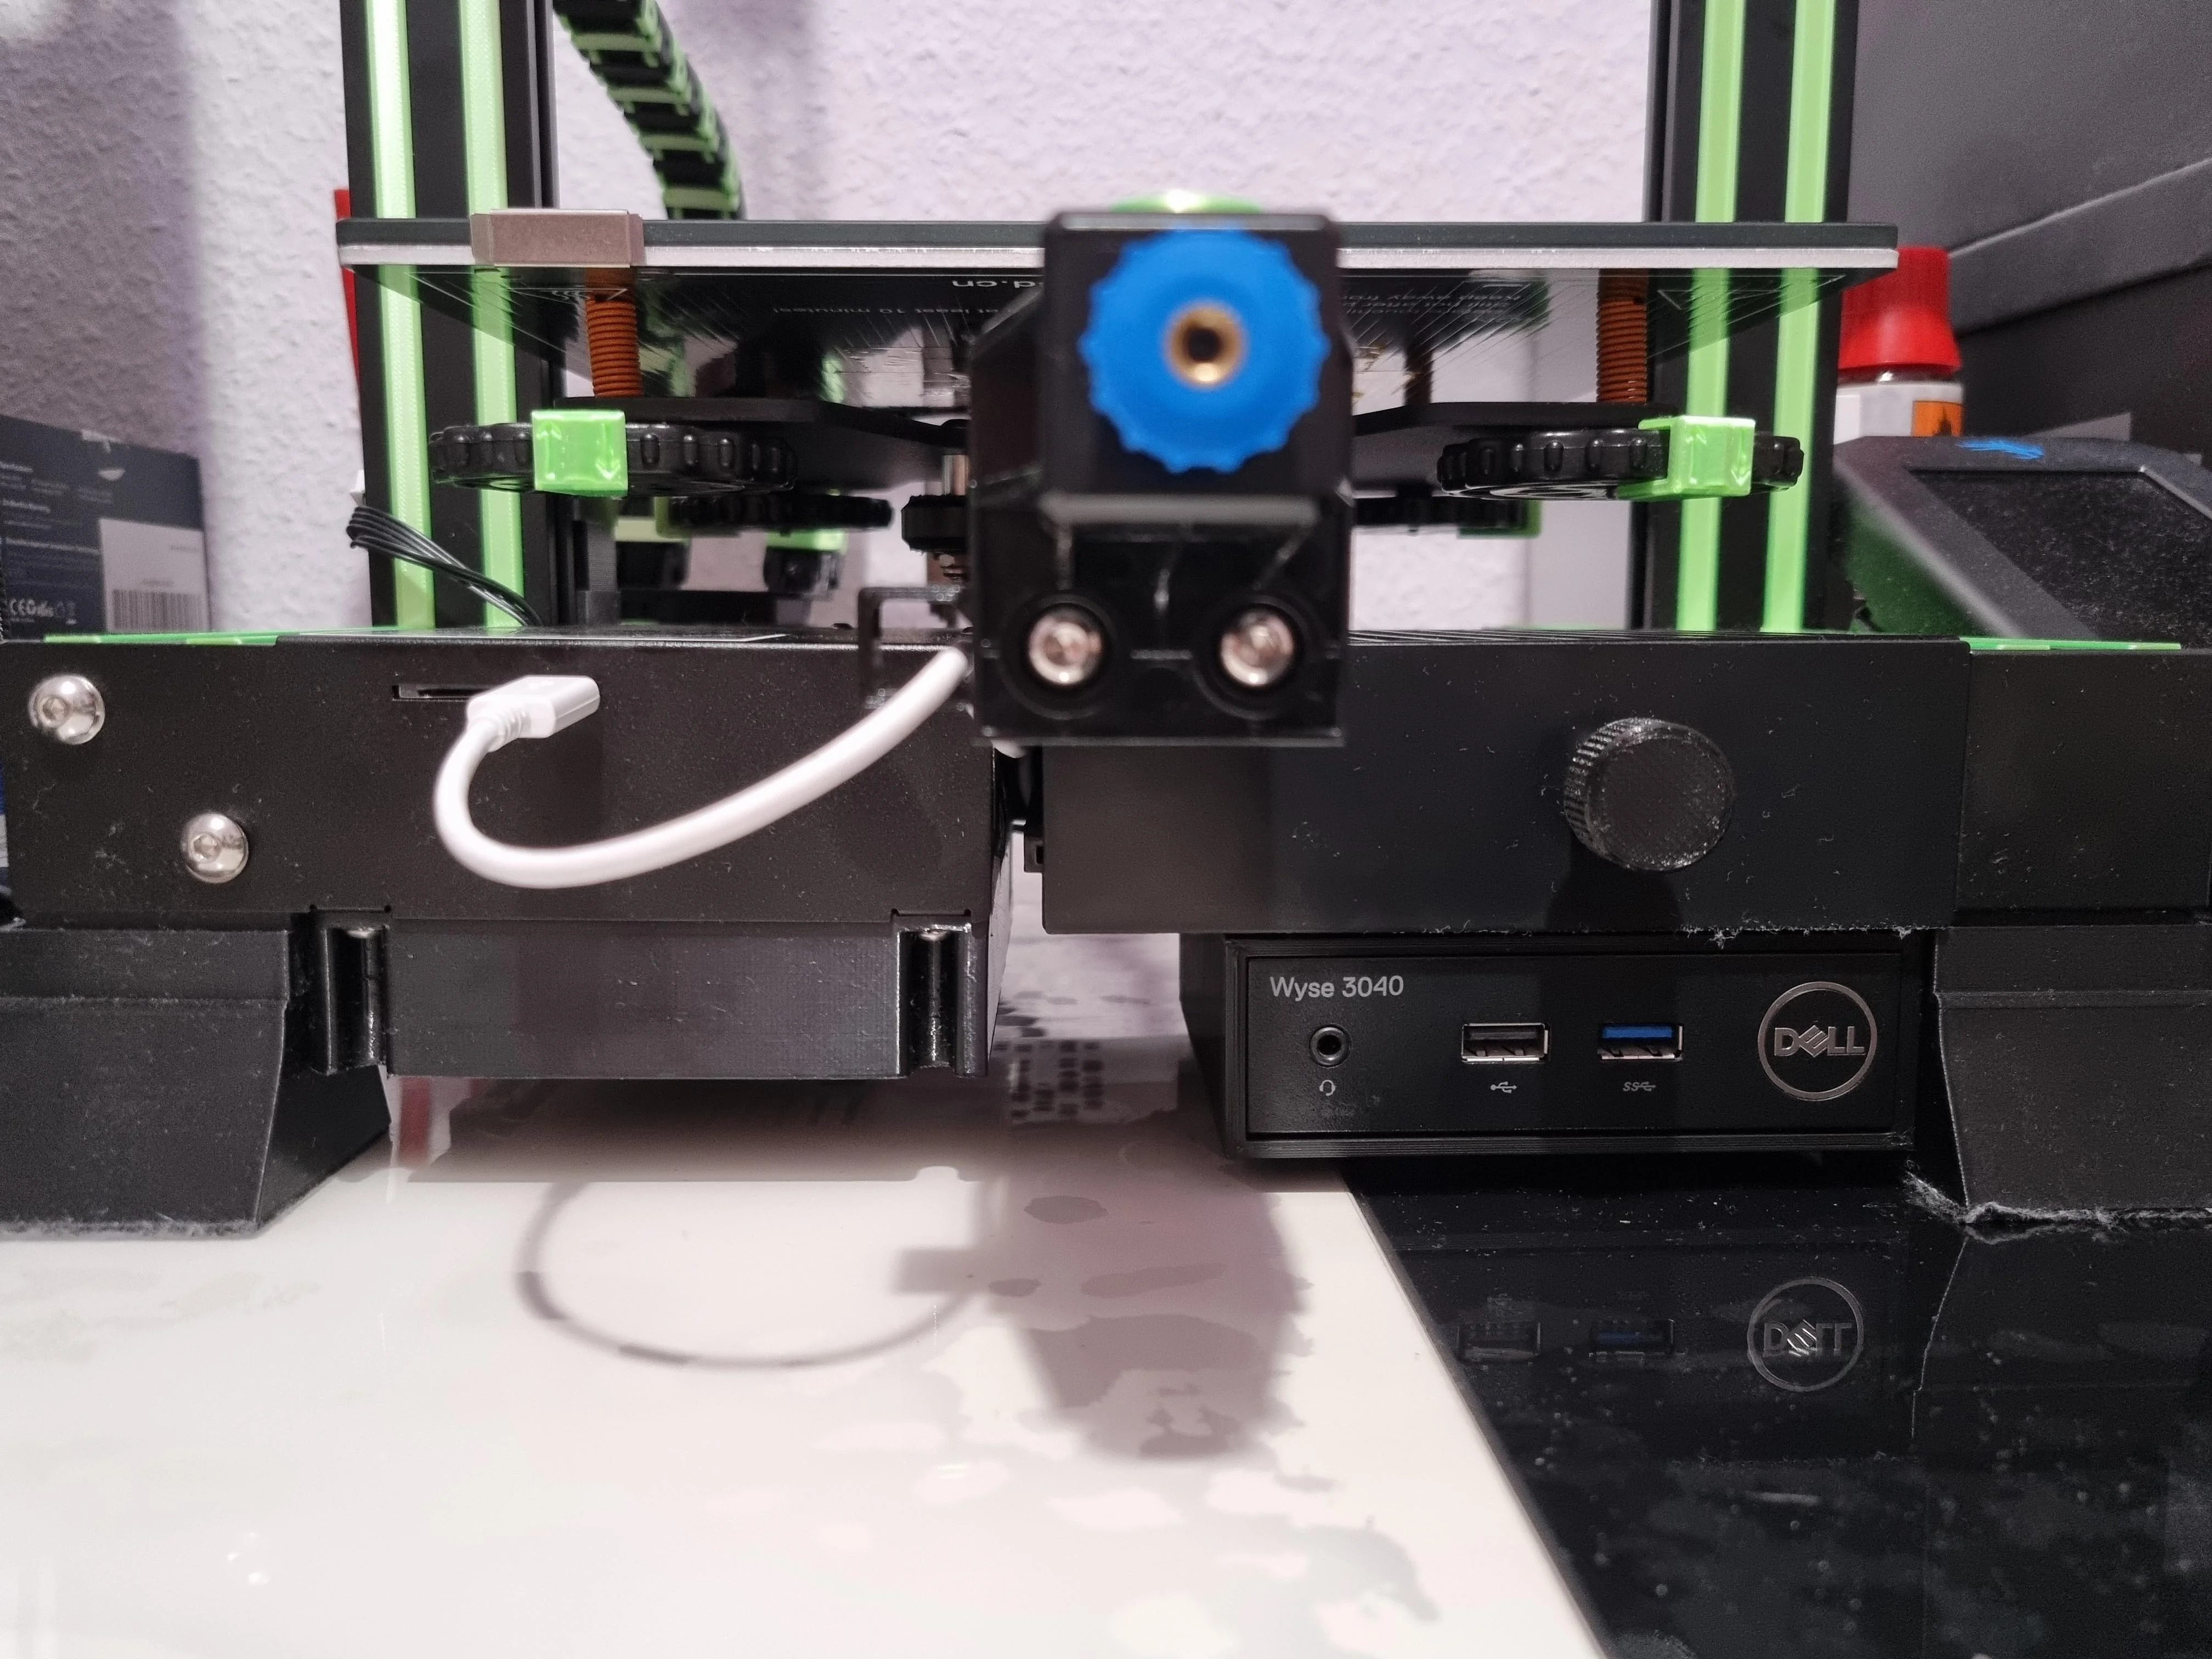
I'm only thinking about buying and installing an M.2 WLAN module, but it currently works just fine with the LAN cable.
And maybe a black USB cable :-P